Vista Print
...is so awesome, it gets it's own page! For those of you not familiar with Vista Print, it's a print website. They offer extremely inexpensive personalized products and make the majority of their money on shipping fees. The great thing about them is that if you subscribe, the send out several emails a week with discounted and even free items. The trick is, that in order to get the items free/discounted, you must access Vista Print through the email with the specials. You cannot combine emails and every time you open Vista Print through a different email, all of the pricing will change.
Another important thing to know about Vista Print (that Jena from The Knot taught me) is that you can design your product completely in Microsoft Powerpoint and upload it to Vista Print. To do this you need to now the products size (if you can't find it, look at the product specifications at the bottom of the page). In Powerpoint, under "Design" click "Page Layout", here you can specify the size of the slide. In order to make the resolution good quality, make the dimensions 4 times larger than the product. For example, if you're making a 4"x6" postcard, set your Powerpoint slide to be 16"x24". When you're done designing the slide, save the file as a Powerpoint (.ppt) file (this is incase you want to make changes later) then save the file as a JPEG (you may need to click the drop-down menu to select this). This you on Vista Print, select the "Create Your Own" option for the product you're making and upload your JPEG.
Using the email savings to my advantage, I order from Vista Print:
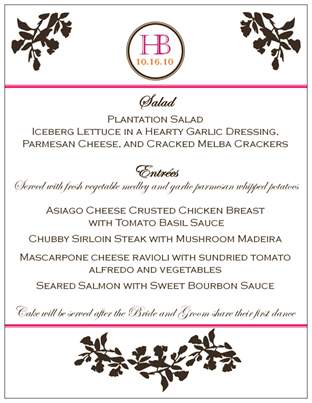
o Menu Cards (Standard Postcards)
o Direction Cards (Oversized Postcards)
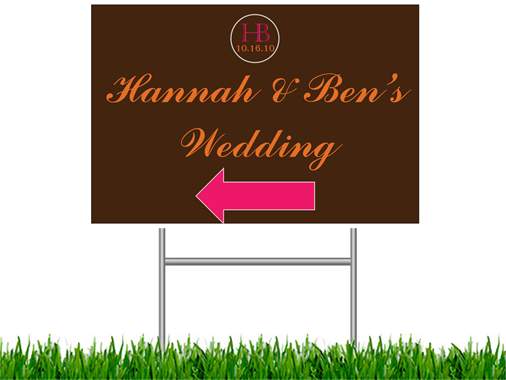
o Navigations Direction Signs (Small Yard Signs)
o Escort Cards (Premium Business Cards)
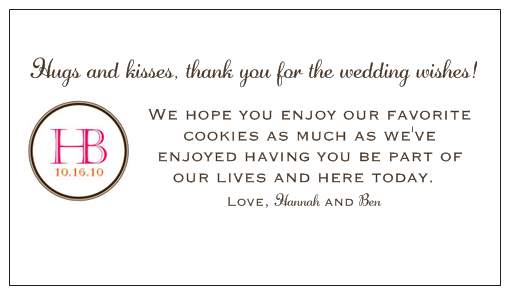
o Favor Cards (Premium Business Cards)
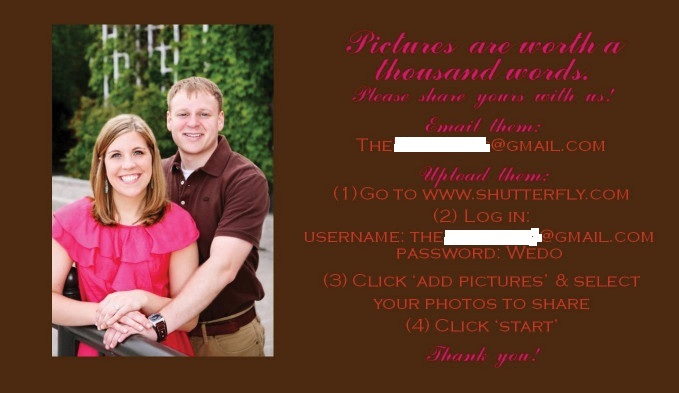
o Photosharing Cards (Business Cards)
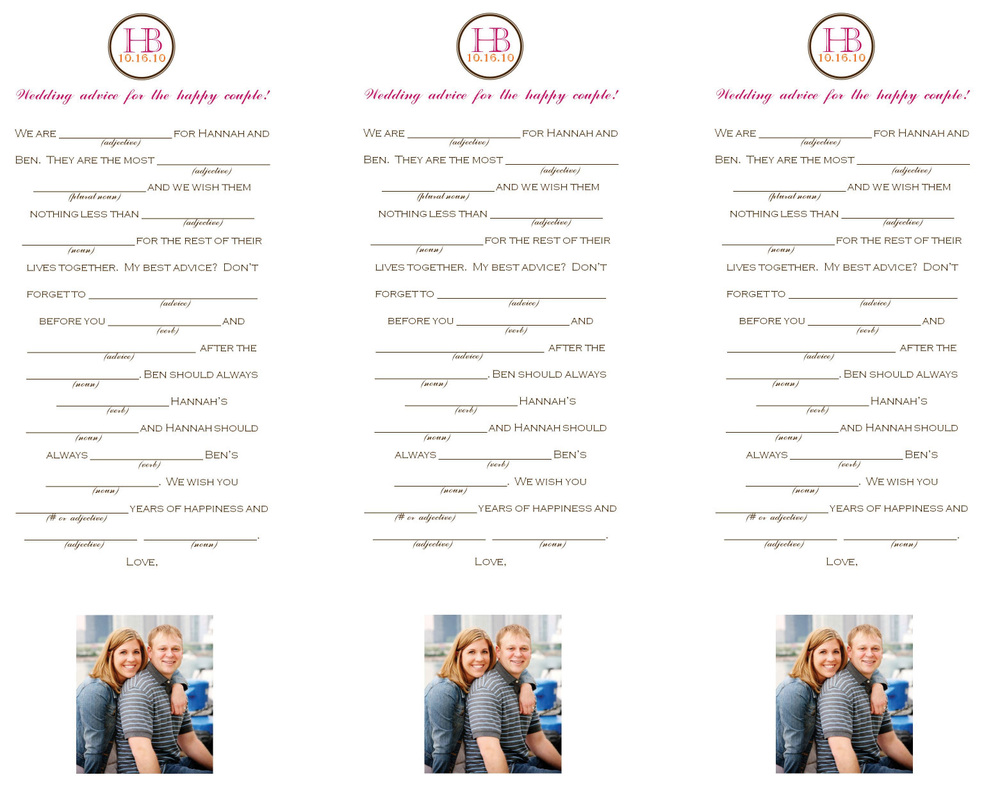
o Madlibs (Ordered as Brochures and Horizontal Data Sheet, then cut to size)
o Return address labels (for our thank you cards)
o Personalized Wedding Pens
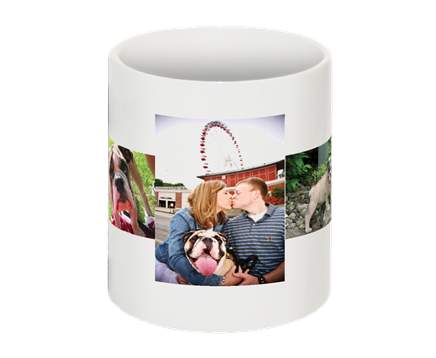
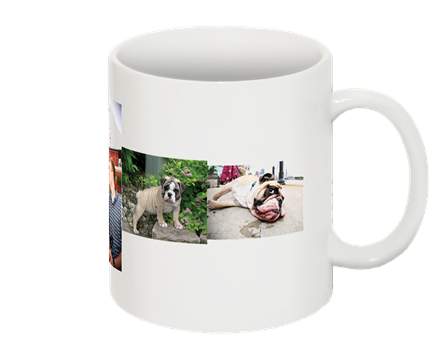
o Personalized Photo Mug (part of Ben's gift)
o Personalized Notebook (part of Mallory's thank you gift)
o Personalized Tote (Small Tote)
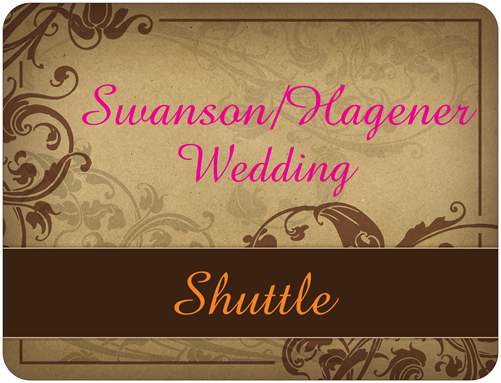
o Shuttle Magnets (Small Car Door Magnet)
o Just Married Magnet (Small Car Door Magnet)
Another important thing to know about Vista Print (that Jena from The Knot taught me) is that you can design your product completely in Microsoft Powerpoint and upload it to Vista Print. To do this you need to now the products size (if you can't find it, look at the product specifications at the bottom of the page). In Powerpoint, under "Design" click "Page Layout", here you can specify the size of the slide. In order to make the resolution good quality, make the dimensions 4 times larger than the product. For example, if you're making a 4"x6" postcard, set your Powerpoint slide to be 16"x24". When you're done designing the slide, save the file as a Powerpoint (.ppt) file (this is incase you want to make changes later) then save the file as a JPEG (you may need to click the drop-down menu to select this). This you on Vista Print, select the "Create Your Own" option for the product you're making and upload your JPEG.
Using the email savings to my advantage, I order from Vista Print:
o Menu Cards (Standard Postcards)
o Direction Cards (Oversized Postcards)
o Navigations Direction Signs (Small Yard Signs)
o Escort Cards (Premium Business Cards)
o Favor Cards (Premium Business Cards)
o Photosharing Cards (Business Cards)
o Madlibs (Ordered as Brochures and Horizontal Data Sheet, then cut to size)
o Return address labels (for our thank you cards)
o Personalized Wedding Pens
o Personalized Photo Mug (part of Ben's gift)
o Personalized Notebook (part of Mallory's thank you gift)
o Personalized Tote (Small Tote)
o Shuttle Magnets (Small Car Door Magnet)
o Just Married Magnet (Small Car Door Magnet)